A pale, stained wall can look far worse than it is, while a freshly painted facade can conceal rot in its render. Most homeowners judge their building by surface appearance, and that habit leads to expensive mistakes in both directions. Reading the real condition requires looking past the colour and the crack.
Why surface grime is a poor guide to condition
Dirt, dust, and biological growth tell you about the environment, not necessarily about the structure. A north-facing wall in a damp climate will grow algae and dark streaks within a few seasons, even when the render beneath is sound. Field experience shows that many owners rush to renovate because the wall looks dirty, then discover the substrate was perfectly healthy.
The reverse also happens. A wall that appears clean after a pressure wash may have lost its adhesion entirely. Cleaning removes the evidence you need, and the detachment only becomes visible once the first winter freeze pushes moisture into the gap. Before deciding anything, test the surface physically rather than visually.
How to read hairline cracks in the first 12 months
Fine cracks in cement-based render are common and usually result from drying shrinkage in the first year, followed by seasonal thermal movement. Cracks narrower than about 0.3 mm that run in a random pattern, called map cracking, are generally cosmetic. Monitor them with a simple pencil mark or a crack gauge and record any change over twelve months.
Cracks that tell a different story have specific features. Those wider than 2 mm, stepped along mortar joints, or running diagonally from the corners of windows and doors suggest movement in the structure below. A crack that is wider at the top than at the bottom often points to differential settlement. Contact a structural engineer rather than a painter when you see these patterns, because the fix addresses the cause, not the finish.
Water entry: the signal that matters most
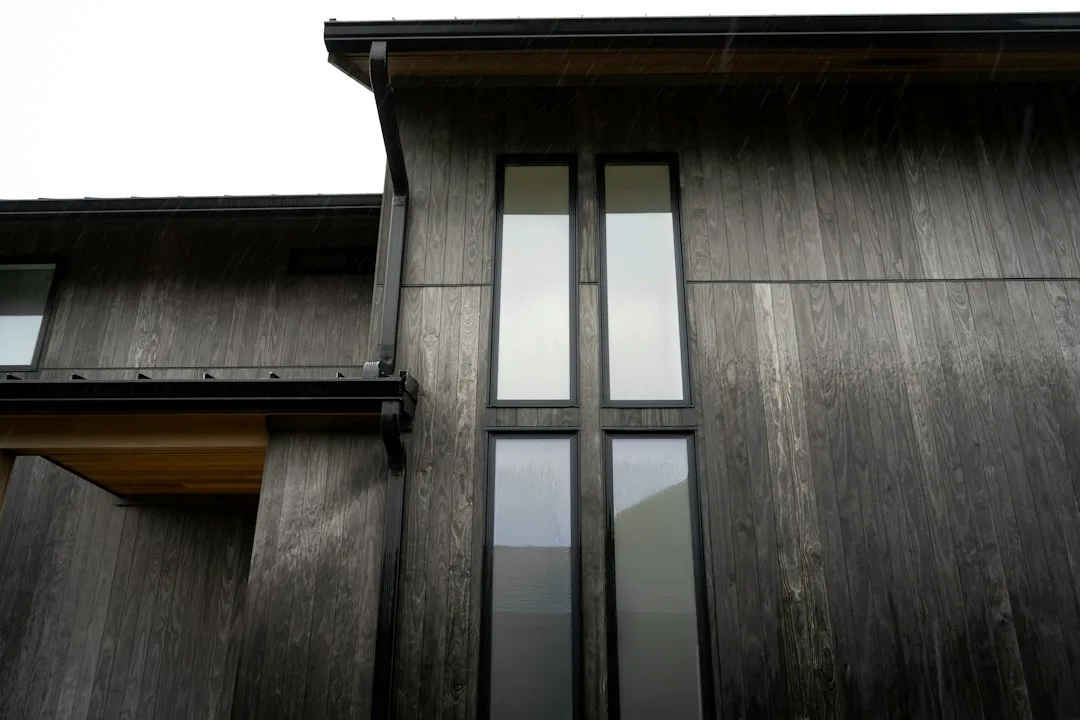
Moisture is the real enemy of any facade, and it rarely announces itself clearly. Dark vertical streaks beneath window sills usually mean water is tracking off a sill that lacks proper slope or a drip edge. Staining that appears only after rain, and dries unevenly, points to a flashing failure above or a failed sealant joint nearby.
Check the detailing before you check the paint. Look at where the top of the wall meets the roof, where pipes and cables penetrate the envelope, and where the render meets the window reveal. These junctions are where water finds its way in. Fixing a wet wall without addressing the entry point merely resets the clock, and the stain returns within one or two seasons.
Thermal and moisture problems often appear together. An insulated wall with a cold bridge at a window head can produce condensation on the inside and a damp patch on the outside. If you notice both, consider an infrared survey, because it reveals areas where heat escapes and moisture accumulates in the same place.
Blisters, hollow patches, and the tap test
Delamination is the most important defect to catch early, and it is simple to test. Tap the render gently with the handle of a screwdriver or a coin, moving across the wall in a grid. Solid, well-bonded render returns a sharp, ringing sound. A dull, hollow note means the finish has separated from the substrate beneath it.
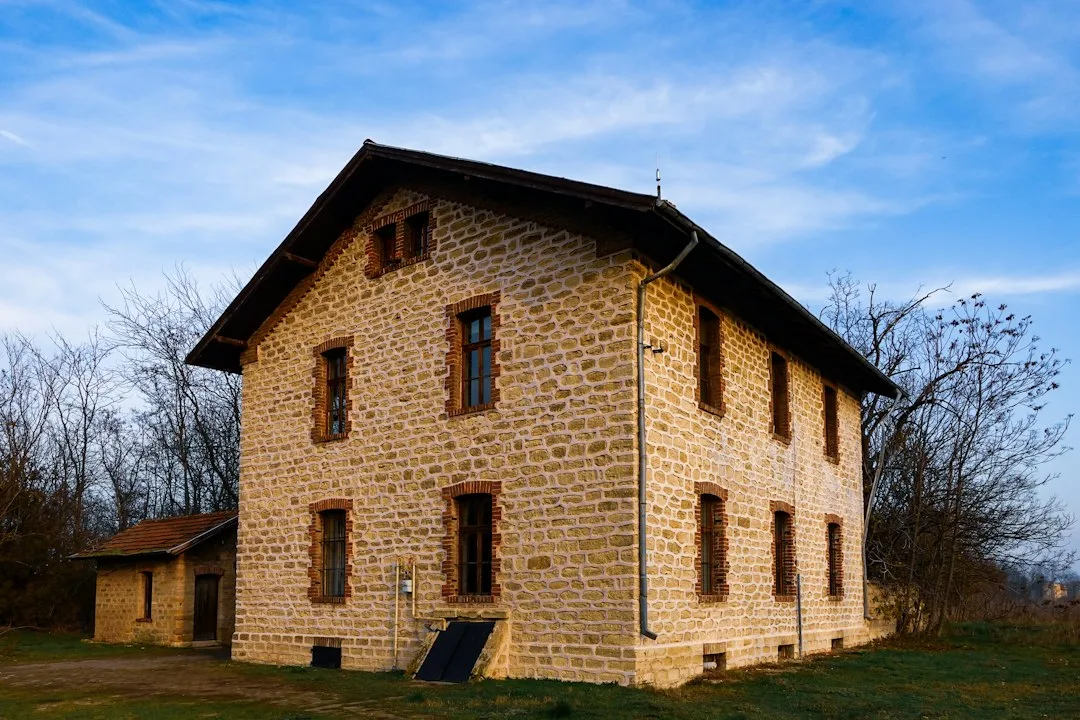
Blistering and bulging confirm the problem. Water trapped behind the finish expands during freezing, and each cycle widens the gap. Stone cladding and thin render coatings are particularly vulnerable, and a single severe freeze can release sections that were already loose. Mark any hollow areas, because they will spread. Within a few months, a small bulge can become a fall hazard, and repair cost rises sharply once the damage reaches the insulation or the framing behind.
| Sign | Likely cause | Urgency |
|---|---|---|
| Fine hairline crack under 0.3 mm | Shrinkage or thermal movement in render | Low, monitor yearly |
| Crack wider than 2 mm or stepped | Foundation movement or structural load | High, get an inspection |
| Dark streaks below window sills | Water running off a flawed sill or drip edge | Medium, check flashing |
| Green or black dirt on north face | Biological growth from moisture retention | Low to medium, clean and assess |
| Blistering or hollow sound when tapped | Delamination of render from substrate | High, act within months |
| Uniform greying of paint | UV and pollution weathering | Low, cosmetic |
Deciding between repainting and full renovation within 6 months
Repainting makes sense when the substrate is sound, the cracks are fine and stable, and the only problem is weathering or colour fade. Choose breathable masonry paints, and prepare the surface with proper filling of hairline cracks and removal of loose material. Expect the paint to last a sensible period when the underlying wall is healthy.
Renovation becomes the right answer when the render is hollow, when water is entering the wall, or when cracks show structural movement. In these cases, a new finish over a failing substrate guarantees a short life. A full renovation typically removes unsound render, repairs the wall, addresses moisture entry points, and applies a new system, which can include external insulation. Obtain at least three quotes that specify the diagnosis, not just the finish.
Decorative elements and the moisture question
Architectural details such as window surrounds, cornices, and pilasters add character, but they also create new water traps if they are poorly detailed. Lightweight EPS mouldings are a practical option for adding relief to a facade without adding structural load, provided they are fixed and sealed correctly. Homeowners who want to upgrade a plain elevation often combine a renovation with decorative work, such as exterior foam moldings around openings, which hides the transition lines and gives the wall a crisp finished edge.
When adding decoration, ensure that every projecting element sheds water. Sills need a slope of around 5 percent away from the wall, and any ornament that catches water must include a drip edge. Crowning details, such as exterior cornices, should have a clear overhang and a sealed joint at the wall, otherwise water runs behind them. Good design and good drainage work together, and the same attention to detail protects the render beneath.
A practical inspection sequence for the next season
Work through the building methodically rather than reacting to the first stain you notice. Start at the roof edge and work downward, because water always travels downward and the cause is usually higher than the stain. Use binoculars for the upper storeys, and a ladder for the lower areas where you can reach them safely. Record each finding with a date and a photograph so you can measure change over time.
Then perform the tap test across a grid, measure any cracks, and note any bulges or moisture patterns. Compare findings against the table above to decide urgency. Mark your findings on a simple elevation drawing. This record turns a vague worry into a specific list of questions for a contractor, and it prevents the common outcome of paying for a finish that hides a failing wall. Renovate when the evidence says so, and repaint only when the wall deserves it.