A climbing plant can lift a render coat in three seasons, and the damage usually has nothing to do with the plant’s health. It comes from how the support was fixed to the wall. Field experience shows that most failures trace back to one decision made in the first week of planting.
Why the plant is not the real problem
Climbers are not inherently destructive. Their weight and growth are modest, and a healthy stem carries little load on its own. The trouble starts when a plant is asked to fix itself to a surface that was never designed to bear it. On an ETICS system, the finish sits on a thin layer of reinforced base coat over expanded polystyrene. That assembly is light, flexible and bonded to the wall, not anchored into it.
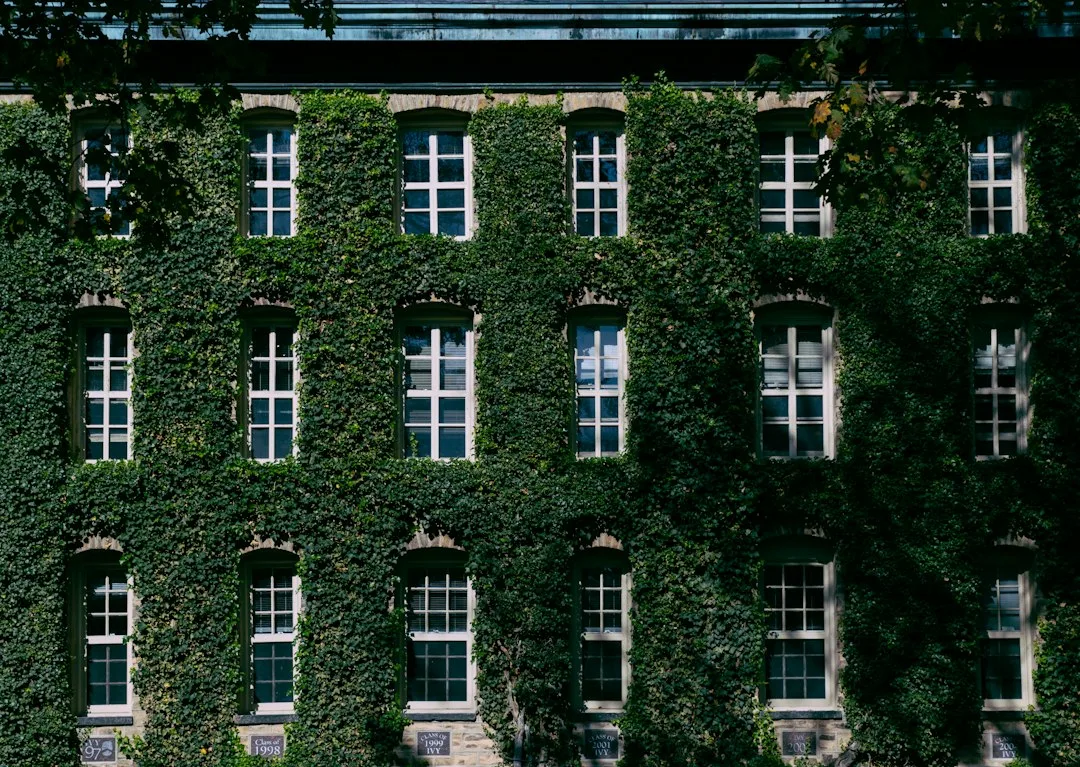
Self-clinging species such as ivy and Boston ivy are the worst offenders. They produce adhesive pads and fine roots that work into hairline cracks and joints. Once the root network reaches the base coat, moisture is trapped against the insulation for months at a time. Removing the plant later often tears away the finish with it.
The anchoring choice most people never make
The decision that matters is whether the support touches the wall at all. A trellis screwed directly through the render into the foam is the most common installation error we see. EPS offers little resistance to pull-out, so under wind and a few kilograms of foliage the fixing loosens and the render cracks around it.
The sound alternative is a free-standing frame set at least 50 mm off the facade. This gives air a path behind the plant, so moisture can dry rather than sitting against the surface. It also keeps stems from abrading the finish in gusts. Where a frame must be fixed to the building, the fixings should reach the structural substrate behind the insulation, not the foam itself, and each penetration should be sealed to prevent water tracking into the wall.
| Support method | Wall contact | Typical risk to render | Suitability |
|---|---|---|---|
| Screwed wire trellis into render | Direct penetration | High: cracks and pull-out | Poor |
| Free-standing frame, 50 mm offset | Minimal | Low, if drained | Good |
| Wall-mounted stainless brackets to masonry | Through render to substrate | Medium, needs sealing | Acceptable |
| Adhesive hooks on EPS | Surface only | High: peel under load | Poor |
| Plant self-clinging (ivy, Boston ivy) | Adhesive pads and roots | High: root penetration of joints | Poor on ETICS |
Installing a support that will last a decade
Start by locating the structural wall, which may be masonry, concrete or timber framing depending on the building. Mark fixing positions and use a long-shank anchor that passes through the insulation and embeds in the substrate, with a minimum embedment as specified by the anchor manufacturer. Pre-drill, then set the anchor so its head sits flush with the base coat, and seal the hole with a compatible exterior sealant before fitting the bracket.
Space the standoff brackets to carry the expected plant weight with margin. A mature climber can add substantial load after a wet season, so do not rely on a single line of fixings. Stainless steel is the correct metal for exterior brackets, as galvanised parts corrode where they meet the render and stain the finish.
For decorative features, the same principle applies. A stone-effect detail or an EPS ornament attached near a planting bed should never carry plant load. Keep decorative elements and their fixings separate from the support system. Our range of exterior foam ornaments is designed to be fixed at the base coat as a finishing detail, which means the climbing support should always be an independent structure rather than something hung from the decoration.
Maintenance over the first three seasons
Inspect the wall each spring and autumn for three years after planting. Look for hairline cracks radiating from fixings, staining that marks where water runs off stems, and any softening of the render edge. Cut back growth that touches the surface and never pull a self-clinging plant off the wall by force, since the adhesive pads will take the finish with them.
Moisture is the underlying risk, and it accumulates slowly. Our earlier analysis of why EPS molding peels off within a season when fixed by adhesive alone covers the same bond failure from another angle. Treat a climbing plant as a moisture load, and it becomes straightforward to plan. Keep the stems off the render, leave a drying gap, and fix only to structure. A well-planned climber will soften the facade for decades, while a poorly fixed one can undo a render coat before the first decade is out.
Choosing the right plant for the wall
Not every climber is equally risky. Twining species such as clematis and wisteria climb by wrapping tendrils around a support, so they do not need to touch the wall. Rose and jasmine, which grow on a frame, are manageable when the structure is free-standing. Self-clinging ivy and climbing hydrangea attach directly and should be avoided on any ETICS-finished wall. Matching the plant’s climbing method to the support you can safely install is the single most effective decision you can make.
When to call a professional
If cracks already radiate from existing fixings, or if the render sounds hollow when tapped, the bond may already be compromised. A surveyor or facade specialist can probe the system and advise whether localised repair is enough or whether the section needs re-rendering. Do not reinstall a trellis into the same damaged area without first addressing the substrate.
Used with correct anchoring and a drying gap, a climbing plant can be a durable part of the facade rather than a threat to it. The fixing choice made at planting determines the outcome far more than the plant species does.