A foam molding that looks perfect on installation day can start lifting within a single hot summer, and the failure is almost always blamed on the glue. The adhesive is rarely the real problem. The bond is asked to resist forces it was never designed to carry alone.
Why Adhesive Alone Is Not a Fixing Method
Expanded polystyrene is light and dimensionally stable for its weight, but it still moves. It expands and contracts with temperature, and a sun-facing facade can swing through a large temperature range each day. That movement shears the adhesive line over and over, and an adhesive bond that holds at 15 °C can behave very differently at 50 °C on a south wall.
Wind adds a second load. Suction on a facade can pull outward on a decorative piece, and that force concentrates at the edges and corners where moldings are most exposed. A bead of adhesive spreads that load across a thin film, not across a structural connection.
Field experience shows that the failures cluster in predictable places: the lower edge of a cornice, the outer corner of a pilaster, and the top of a window surround where water and heat both work on the joint. The pattern is consistent enough that installers who know it add fixings at those points before the adhesive ever goes on.
What the Substrate Must Be Before You Glue Anything
Most adhesion failures start before the molding touches the wall. A render that is chalky, a paint that is loosely bonded, or a surface contaminated with release agent will not hold a bond no matter how good the adhesive is. Remove loose paint and render, and test the base with a pull-off or a simple tape test before committing.
The substrate also needs to be dry and flat enough for the molding to sit without rocking. A hollow patch behind a piece means the adhesive is bridging a gap, and the stress concentrates on the cured edges. Check flatness with a straightedge and fill or grind high spots so the adhesive layer stays uniform.
Primer matters too. Use the primer specified by the adhesive manufacturer for the substrate type, and allow it to cure fully. Skipping or rushing this step is a common reason a bond looks sound at handover and fails at the first thermal cycle.
| Factor | Adhesive only | Adhesive plus mechanical fixing |
|---|---|---|
| Resistance to summer thermal movement | Low, bond shears over time | High, fixings carry the load |
| Wind suction tolerance | Limited on tall elevations | Substantially improved |
| Typical failure timing | Often within first hot season | Rare in normal conditions |
| Substrate tolerance | Needs very clean, flat base | More forgiving of minor irregularities |
| Relative labour time | Shorter | Longer, but far cheaper than repair |
How Mechanical Fixing Carries the Load
The fixing system is what takes the sustained loads that adhesive cannot. Depending on the piece, this means corrosion-resistant screws or anchors driven through the EPS into a suitable backing, with the head sunk and covered by the finish. Stainless or galvanised fixings are the sensible choice, because a rusting fastener will stain the surface and weaken the connection over time.
Spacing should follow the manufacturer’s guidance, and it should be tighter at the corners, ends and any section that projects. A long cornice with fixings only at the ends will still lift in the middle. Place fixings so that every section of the profile is held, not just the points that are easiest to reach.
Be careful not to overtighten. EPS compresses under a driven head, and a fastener driven too hard leaves a crater that weakens the grip and cracks the foam. Drive to a flush finish, then stop.
Joints, Sealing and the Details That Stop Water
Water is the quiet accomplice in most molding failures. It gets behind a piece through open joints, then freezes, swells or softens the adhesive. Seal the perimeter and every joint with a flexible, paintable sealant compatible with EPS, and make sure the top of any projecting piece is shedding water away from the wall.
The same logic applies to sills and cornices. A horizontal projection that traps water on its top surface will eventually force water into the joint beneath it. Sloping surfaces away from the wall, and keeping drips clear of the substrate, prevents this from starting.
If your project includes a finished system, the render or coating over the foam is part of the protection. Use a compatible base coat and reinforcement mesh, then a finish rated for the exposure. A thin, under-reinforced coat cracks, and cracks let moisture reach the adhesive line.
Choosing Decorative Pieces That Suit Your Facade
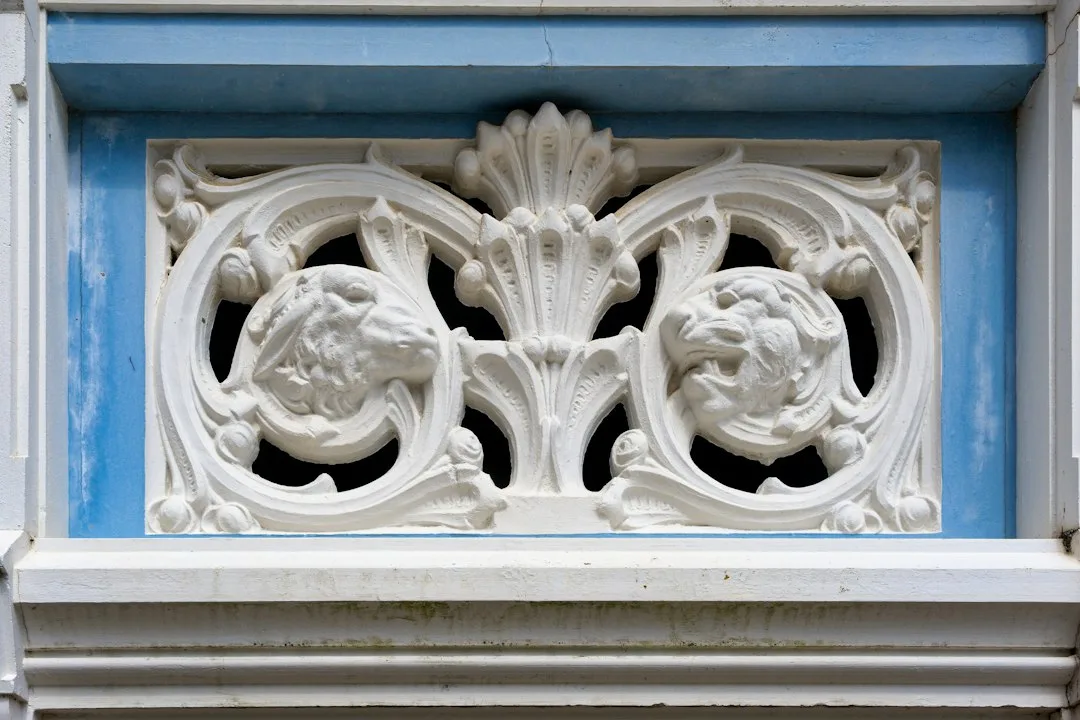
Not every decorative element carries the same load, so match the piece to its position. A small surround or quoin on a sheltered wall is a different job from a deep cornice on an exposed corner. Designers planning a classical look often start with exterior foam moldings and then specify fixings according to the projection and exposure of each run.
Projecting elements such as a deep exterior cornice need the most attention. The greater the projection, the greater the leverage on the joint, so these pieces benefit most from generous fixings and a careful sealing and drip detail.
Inspecting and Maintaining Your Moldings Each Year
A molding does not announce a failing bond until it is visibly loose. Inspect in spring and autumn, when movement is most evident, and look for hairline gaps at the edges, staining below projections, and any sound that suggests a hollow. Gently press the edges of suspect pieces to check for movement, and act at the first sign rather than after it has dropped.
Re-sealing failed joints is far cheaper than replacing a piece. Clean out the old sealant, dry the joint, and re-seal with a compatible product. If a fixing has backed out, add a second fixing nearby rather than simply re-driving the first.
The Real Lesson: Design the Fixing Before the Glue
The lesson is not that EPS is unsuitable for exterior decoration. It is that the fixing system is a design decision, not a finishing touch. Plan the substrate, the mechanical fixings, the sealing and the protective coat together, and the molding will behave as a stable part of the facade. Leave any one of them to chance, and the first hot summer will show you which one you neglected.