
A foam pilaster that looks perfect on installation day can start to lift within two winters, and the cause is rarely the adhesive brand printed on the tube. Field experience shows the failure begins at a fixing detail that most installation guides skip or bury in a footnote. Get that one detail right and the piece stays put for decades.
Why the adhesive is not the whole story
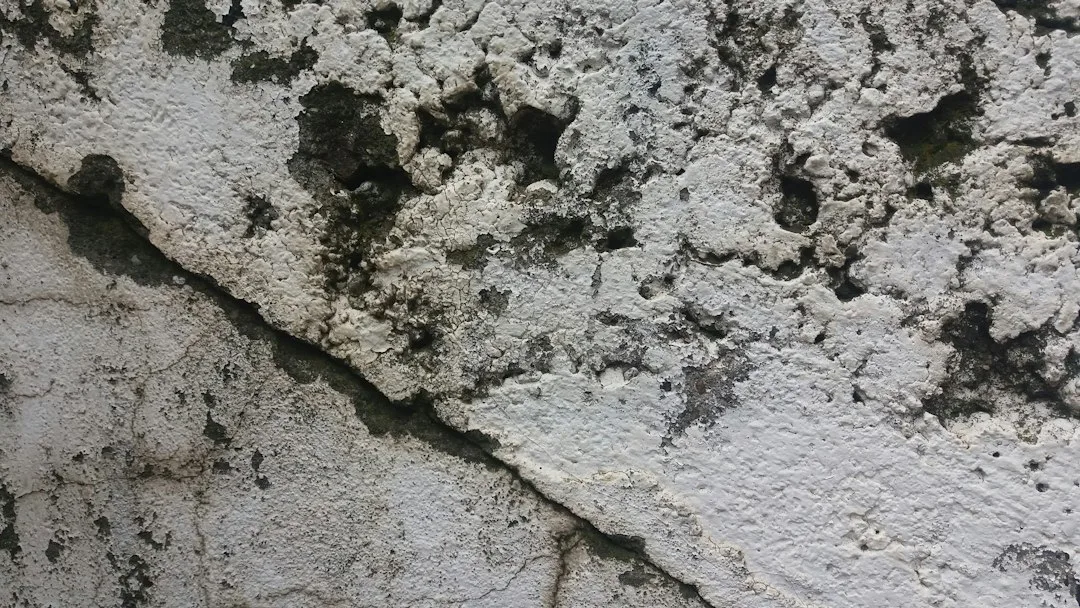
Installers often treat a pilaster as a simple glue job: spread the adhesive, press the piece, move on. The adhesive does real work, but it bonds to whatever sits beneath it, and that surface is often the weakest link. A render coat that is still carbonating, has hollow patches, or is contaminated with efflorescence will let go long before the polystyrene does.
Expanded polystyrene is lightweight, but a tall pilaster with a decorative capital still carries a surprising load in shear, especially when the wall moves with temperature. Every daily heating and cooling cycle pulls the bond in a slightly different direction. Over a year that stress adds up, and the first place to give is the interface.
Before any bonding begins, tap the substrate with a hammer handle and mark every hollow sound. Remove loose render back to sound material, and let repairs cure fully. Skipping this step is the single most common reason a pilaster ends up on the ground.
The fixing detail that gets left out
The missing detail is a controlled drainage and ventilation gap behind the pilaster, combined with mechanical anchors that bridge the adhesive layer. Water finds its way behind any applied element through the joints, the top edge and wind-driven rain. Without a route to drain or dry, that moisture sits against the back of the piece and freezes in cold weather.
When water freezes it expands by roughly nine percent, which is enough to crack the adhesive bond from behind. The piece does not fall immediately; it lifts a few millimetres each winter until the gap is large enough for the wind to finish the job. That slow progression is why owners often notice the problem only when a joint has already opened.
A practical detail is to set the adhesive in beads rather than a full flood, leaving open channels at the base and the top so moisture can escape. Pair this with stainless anchors at the top third and the lower quarter of the piece, positioned through the body and into the substrate. Pre-drill to avoid cracking the foam, and countersink the head slightly so it sits below the surface.
| Method | Typical use | Main risk | Relative cost |
|---|---|---|---|
| Adhesive only | Light, small profiles | Lifts in freeze-thaw cycles | Low |
| Adhesive plus mechanical anchors | Standard pilasters | Anchor corrosion if not stainless | Medium |
| Mechanical anchors through a backing rail | Large or heavy elements | Thermal bridge at fixing points | Medium to high |
| Pre-fixed to a timber or steel sub-frame | New build, large projects | Requires planning at design stage | High |
Choosing the right profile and finish
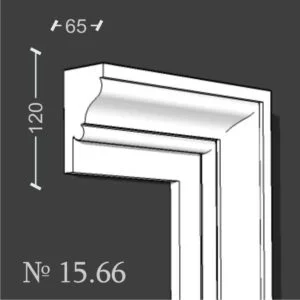
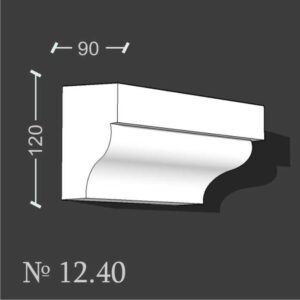
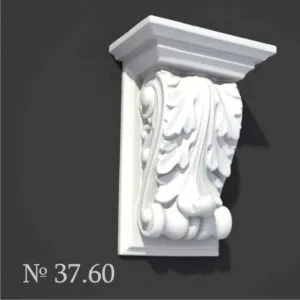
Not every pilaster design suits every facade. Heavier profiles with deep capitals demand more anchoring than slim, flat-faced versions, and they should be specified with that load in mind. If the design calls for a strong architectural statement, a supplier such as exterior foam pilasters offers profiles engineered for this kind of attachment, so you can plan the fixings around the piece rather than improvising on site.
The finish also matters for long-term adhesion. Acrylic-based render systems take primer and adhesive differently from mineral finishes, and a mismatch can reduce bond strength even when the fixings are correct. Confirm the compatibility of your adhesive with both the foam and the wall coating before work starts, and test a small sample if the substrate is unfamiliar.
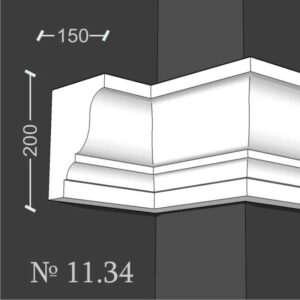
Decorative elements that share the facade often face the same stresses. Window surrounds and cornices suffer similar failures when water is trapped behind them, which is why the principles here apply across the whole façade. For example, a well-detailed exterior cornice uses the same drainage logic as a pilaster, and the same attention to the fixing line will protect it.
Installation sequence that prevents detachment
Work from the bottom upward so that each piece protects the joint below it from drips. Mark the centre line and check plumb with a long spirit level, not a short one, because small errors compound over a tall pilaster. Dry-fit the piece, then mark the anchor positions before any adhesive is mixed.
Apply the adhesive according to the manufacturer’s bead and coverage specification, usually a perimeter bead plus a few central dabs, and press the piece firmly into place. Install the mechanical anchors immediately after positioning so that the piece is held while the adhesive begins to set. Leave the adhesive to cure for the time stated on the data sheet before rendering or painting over joints, and do not rush this stage in cold or damp weather.
Seal the top edge with a compatible flexible sealant that will not trap water beneath it, and make sure the top cap or overhang sheds rainwater away from the face. Joints should be finished so that water runs off rather than pooling in any recess. These steps take a few extra hours but protect the piece for its entire service life.
Inspecting and maintaining after the first winter
Check every pilaster within the first six months and again after the first full winter. Look for hairline cracks at the fixing line, staining that suggests water entry, and any movement when you apply gentle pressure to the body. Catching a lifting edge at one millimetre is a small repair; catching it at fifteen is a scaffold job.
Clean the surface with a soft brush and mild water, avoiding pressure washers that can force water behind the joint. Reapply sealant at the top edge if it has cracked or pulled away, and touch up any paint failures before moisture can penetrate the coating. A short annual inspection costs very little compared with reattachment or replacement.
When to call a specialist
If the pilaster is tall, sits above a doorway, or carries significant ornamentation, bring in an installer who can demonstrate experience with exterior foam elements and mechanical anchoring. Ask them directly how they handle the drainage gap and the anchor layout, and whether they test the substrate before bonding. Vague answers are a warning sign.
For a new build or a large renovation, consider specifying the pilasters at design stage with a backing rail or timber sub-frame, which removes much of the guesswork. The extra planning cost is modest compared with the disruption of fixing a failed element later. Whatever route you choose, the fixing detail is the part that decides whether the pilaster lasts, so give it the attention it deserves.